How to apply microcement
Exhaustive training on how to apply microcement is not necessarily required, but it is important to have a little knowledge of the world of DIY. Having an idea of each of the phases that a construction work entails will help you a lot during the application of microcement.

Know the step by step.
We have been creating a series of step-by-step instructions with the most sought-after doubts.
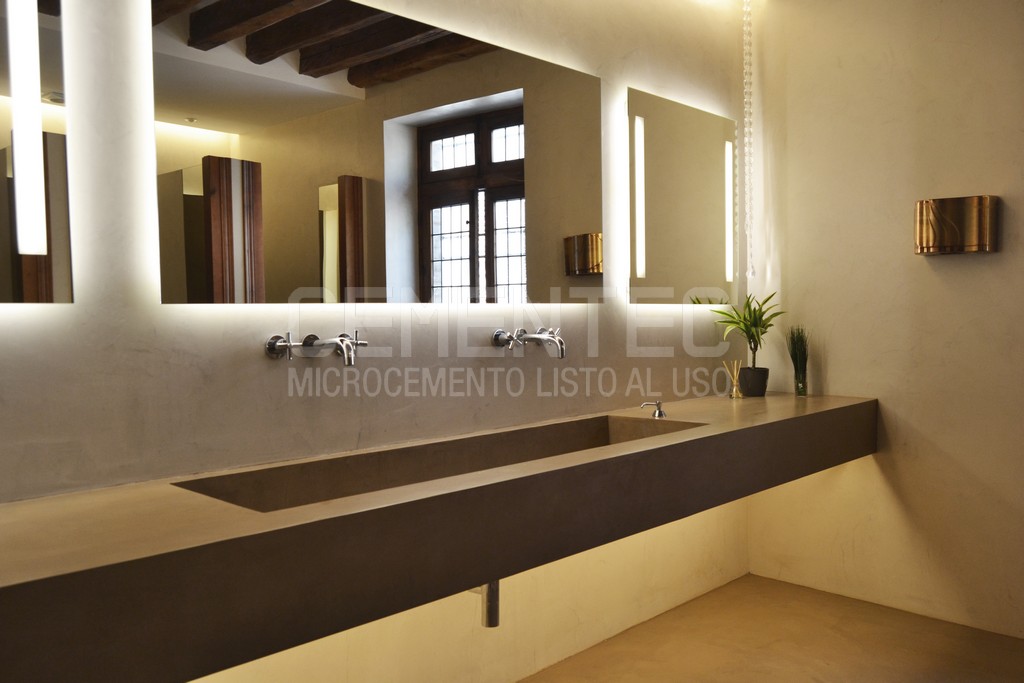
Cómo aplicar microcemento en baños
Cómo aplicar microcemento en escaleras

Aplicar microcemento sobre madera
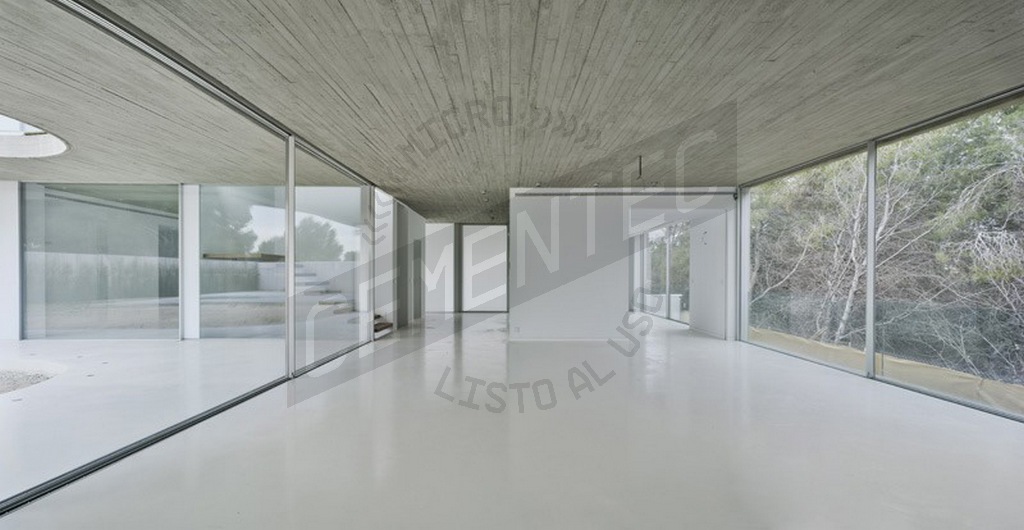
Cómo aplicar microcemento en el suelo
Cómo aplicar microcemento en paredes
Cómo aplicar microcemento alisado
Cómo aplicar microcemento en azulejos
Cómo aplicar microcemento en piscinas
The first step is to review and respect the processes prior to the application of microcement; that is, it is essential to evaluate and adapt the previous support where the microcement is going to be applied to start the work successfully and guarantee that microcement is a product suitable for applying on it.
It is not our intention to discourage you if you want to apply it on your own, so we are going to briefly describe what you have to do to apply microcement correctly.
As we have mentioned, the first step is to check the previous support where you are going to apply the microcement:
– Protection of the support: Before starting the work, it is important that you cover and protect the areas where the microcement is not going to be applied, to prevent them from deteriorating.
– Cleaning of the support: If necessary, sweep and vacuum the dust that may be present on the surface.
– Check the support: It must be strong and consistent, and well anchored. In the case of a tile support, check that there are no loose tiles. In the case of cement-based supports, check that they are not detached on the base.
It is of the utmost importance that the support does not contain humidity higher than 4%; if it does, it must be repaired with specific humidity blocking products.
– Preparation of the support: Once the previous steps have been carried out, it must be prepared. Depending on the type of support material, different preliminary actions must be undertaken, which we have detailed in our training tutorial videos.
In general, it is always recommended to include fiberglass mesh, either in the preparation of the previous support along with the application of an epoxy resin (SEAL) or in the application of the first layer of microcement BASE. Only on perfectly smooth and level vertical supports, such as plasterboard or MDF boards, can the use of the mesh be dispensed with.
The use of a proper tool will facilitate the application of the BASE microcement layers. This material must be applied with a large trowel that is capable of covering a large part of the support and levelling out any small imperfections it may have.
Two layers of microcement BASE will be applied, respecting the drying time between them, which will provide the system with high resistance and hardness. Between layers of BASE, we will scratch it slightly using the edge of the trowel used for its application. Once the second coat has dried completely, sand it by machine to remove small burrs and leave the surface perfectly smooth for the application of the following layers.
Now it is the turn of the finishing microcement (FINO or WATER RESISTANT), a material with a finer granulometry than the microcement BASE, which will give the microcement coatings a decorative appearance.
It is a process similar to the previous one, with the application of 2 consecutive layers, respecting the drying times between them. In this case, a flexible metal trowel will be used to create depth and decorative effect.
The application of the second layer of the finishing microcement must be carried out perfectly to avoid sanding, simply with slight sanding by hand. However, the first layer does need to be machine sanded.
Finally, we deal with the application of protective varnishes. Firstly, and once the last layer of the finishing microcement has dried and been sanded, we will apply a pore sealant product (PRIMER) to even out the absorption of the microcement.
It is an acrylic product that does not alter the final appearance of microcement. It must be applied with a short-haired microfiber roller, and the help of a brush for the most inaccessible places. It is not recommended to saturate the surface, but rather to spread the product well and create a very thin layer.
When the application of the sealant has dried, we can apply two layers of polyurethane varnishes (FINISH FORTE or FINISH FORTE PLUS). These varnishes will protect the microcement from possible spillage of liquids, make it waterproof, and create a small film resistant to abrasion.
In the same way as for the application of the sealant, the protective varnishes are applied using a short-haired microfiber roller and a brush for areas that are difficult to reach or which the rollers cannot access.
YOU’RE DONE! Now all you have to do is enjoy and experience microcement.