Ready-to-use microcement does not go unnoticed. In fact, it is the industrial decorative coating of the moment. The use of this material has become popular in all types of buildings and homes, given its resistance capacities and its ease of installation or maintenance. But, is its use mostly on floors? Maybe, although microcement walls are increasingly becoming one of the favourite finishing options in industrial or home renovations.
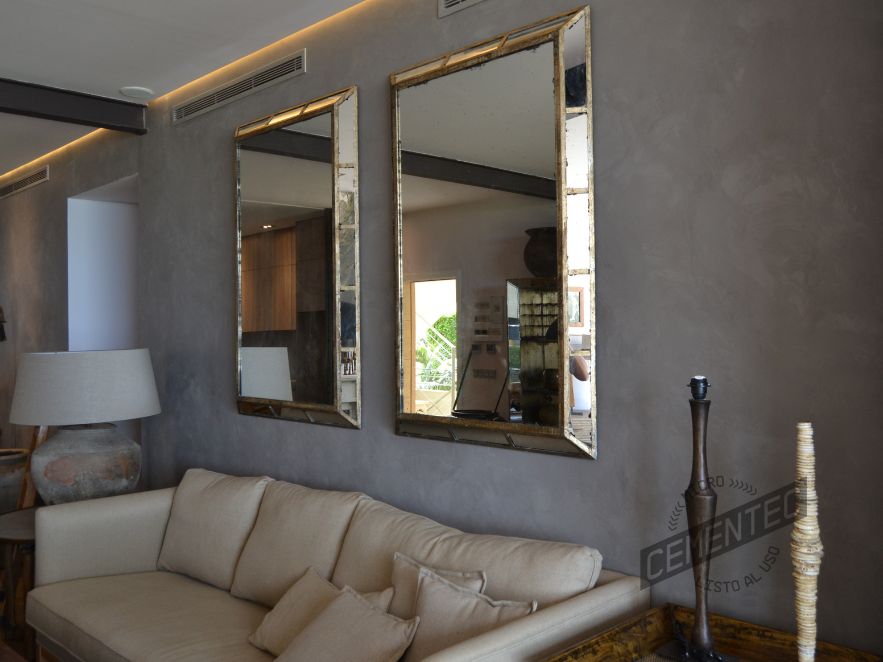
That’s right, based on our experience as applicators, we support our statement that few materials are capable of providing that industrial character as well as homey or vintage (in some cases) than the application of microcement on walls. Versatility is the point. You can opt for all types of styles with this material, from something more classic, to something more rustic or industrial. Hence, ready-to-use microcement is in fashion.
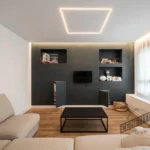
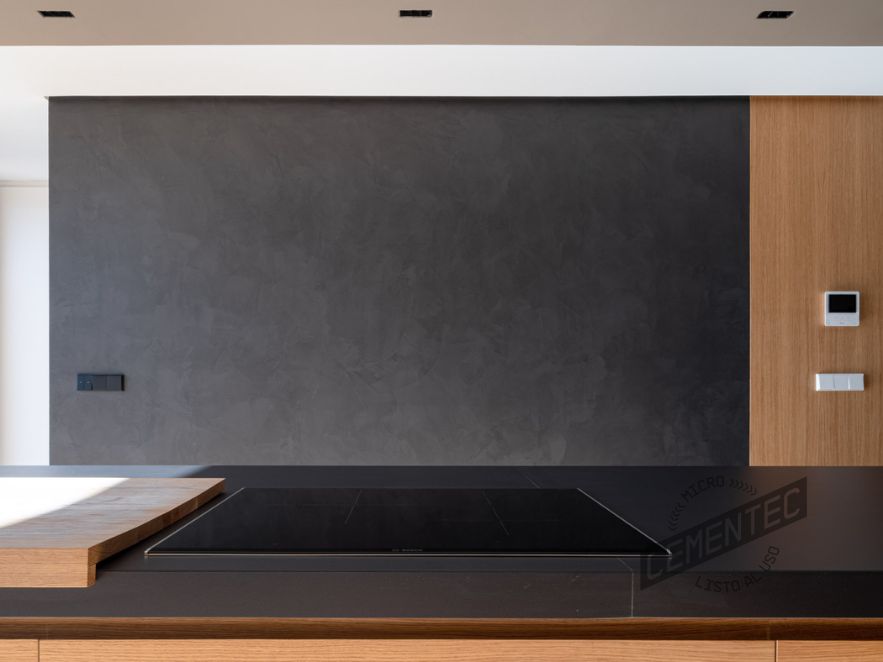
Reproduce any type of environment quickly, easily and long-lasting. Choose for your renovation, the typical light colours of Nordic or minimalist style or choose for something darker with an industrial touch such as the New York loft. Endless possibilities of finishes for your walls, thanks to the wide range of colours of microcement. Go beyond the typical industrial grey and choose between gloss, matte or satin.
Microcement on walls comes to live forever with us, and Cementec will tell you about it.
Ready-to-use microcement advantages
Ready-to-use microcement as such, presents a series of common qualities or characteristics for all types of surfaces that we believe should be remembered:
- Smooth surface without joints.
- Multiple decorative aesthetic options.
- Application on different interior and exterior surfaces: Floors, walls, stairs, countertops or swimming pools.
- Resistance to chemical or abrasive products, blows and others.
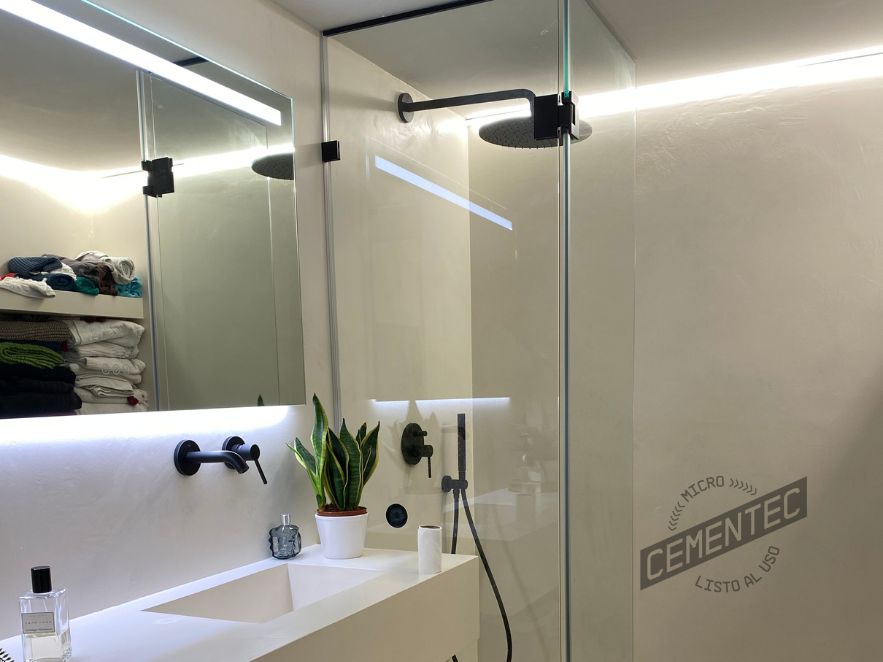
- Waterproof and anti-slip capabilities.
- Easy maintenance and cleaning.
- Does not require complicated works, avoiding debris, saving time and money.
In addition, among the qualities of microcement walls, the following stand out:
- Elasticity and excellent adherence.
- Further durability compared to other decorative coatings.
- High resistance to cracks.
How to apply microcement on walls?
Thinking of covering your walls with microcement? Well, you must know its application method. First of all, Cementec introduces you to a series of very well-defined and delimited phases that you must follow if you want to take advantage of all the possibilities offered by this material.
Microcement application method for walls
En resumen, las 6 fases o procedimientos de aplicación de microcemento en paredes que has de seguir son: In summary, the 6 parts or procedures in walls which you have to do exactly:
- Clean the surface you intend to cover with microcement walls accurately.
- Prime the microcement walls using a fibreglass mesh.
- Apply two coats of microcement wall base.
- Apply the desired colour pigmentation.
- Apply two coats of microcement finish or microcement wall finish (choose from the options).
- Seal and protect the walls covered with microcement.
How to apply microcement step by step
Ready? You know more or less all the process, but, what do you think if we explain them in detail step by step? Although we provide you all the steps to do below, Cementec highly recommends that the application of microcement ready-to-use is carried out by an expert or an applicator. Our team will always be happy to help you and given an advice in all our services we offer.
Without further delay, let’s know how to carry out, step by step, a correct microcement application on walls.
Step 1: Surface adaptation and prior Priming

First of all, and before starting the microcement application process to cover the walls, it is advisable to sand the substrate and vacuum it afterwards to clean the dust or dirt. In the same way, it has to be eliminated any type of stain or imperfection. If necessary, make a humidity treatment.
Afterwards, two different types of prior surfaces must be distinguished: Continuous and non-continuous. Because, based on it, the prior adaptation could involve a first priming using Consolidador with fiberglass mesh, or, on the contrary, priming with an epoxy resin as a vapor barrier (Seal product of Cementec) along with the fiberglass mesh.
After finishing this step, it is recommended to clean again the area.
Step 2: Application of base microcement layers on walls
Let’s start coating! To do this, we will use the product microcement Cementec Base. It will provide to the surface high resistance and evenness. Trying to explain it, maybe it isn´t easy, but one of our colleagues of the applicator team have set out to prove it to you.
Paula shows you how to put microcement on walls through this video.
We will wait until the product is dry and we will proceed with the colouring microcement layer. Taking into account is drying time too.
Step 3: Application of decorative microcement layer on walls
Once drying time is elapsed and chosen the decorative microcement, we will apply the pertinent layers. Two layers must be usually applied, and three in the case of the vintage finish. Cementec has traditional “Finishes”, porous cement-style, vintage, waterproof, especially for swimming pools and those intended for high traffic floors.
The microcement has to be applied in a uniform way using a plastic trowel to reach plain aesthetic or a flexible metallic trowel to get a structure look. Drying time and sanding must be carried out in the appropriate time.
Step 4: Finalisation of the process by apllying the top coat
In order to finish the process, we will seal and protect the surface. This is done, above all, to protect it from blows, abrasions or any type of friction to which the walls are subjected. It will even provide a waterproof property and resistance to another type of liquid. We will use Primer and Finish Forte product.
Conclusions
You will be able to check in our Youtube channel different videos of our application system and each one of the steps that we have explained to you here, as well as, with the application of each one of the products which we do a reference before. Follow us and don’t miss this article and others that they will be able to help you when choosing or carrying out your renovation with ready-to-use microcement.
Did you find this article about microcement walls interesting? Share your opinions in social media and make us arrive your recommendations or results after application.