Are you a bricoleur and do you want to get information of how to apply microcement by yourself? Are you looking for inspiration and do you think that microcement can convert your home or area?
If this is so, you have gotten the right web page. Cementec has decided to train you in a very simple way on how to apply microcement step by step. In addition, we will give you some advices depending on the type of substrate on which you want to apply the ready-to-use microcement. As well as, give you some tips and recommendations of the products that you should use to get your job or reform in the best possible way.
When applying microcement, you will need to take into account a series of prior factors in order to be able to be prepared for the change that will make your house take on a totally different aspect. What previous surface do I have at home and what microcement should I apply? What tools do I need? Prepare the spatulas, the trowels, the rollers, etc., because we start the master class on microcement applications as a coating, a new material that adopts infinite decorative possibilities.
How is microcement applied step by step?

Open your eyes wide, take out a notebook, paper and have the CEMENTEC website open in another tab because we are going to train you on how to work with microcement quickly, easily and simply in just 4 steps. Bricoleur, this is for you! Learn how microcement is applied step by step.
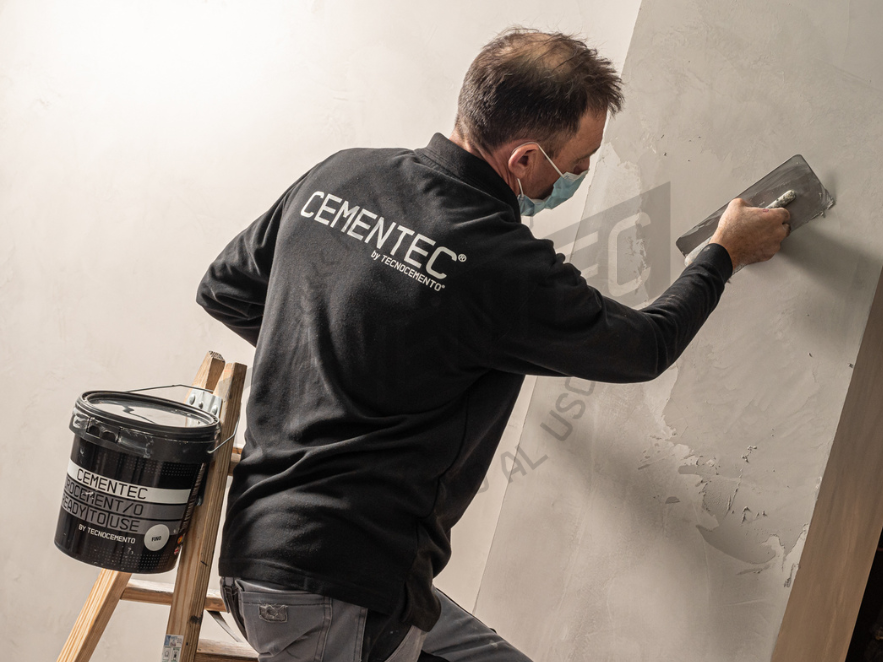
Step 1: Prepare the previous surface which is going to be changed.
It is one of the steps on which you must have a lot of patience, fineness and care. We must protect all the areas what area not going to be applied with microcement and move away everything which can be damaged during the microcement application.
Check if the floor or the wall suffers from humidity (if we want to use microcement we recommend using a humidity meter and, we remind you that, if it exists, it must be less than 5%).
Remove all the remains of previous coatings, dust or particles that could affect how to install microcement. Pay attention to any type of loose piece and to the levelling. Does the floor or wall have any type of relief? The support must be perfectly levelled, because, if we decide to apply microcement, we must know that, approximately, it has a thickness of 3 mm, and it is not a levelling material.
Step 2: Place fiberglass mesh and priming products in a first stage
It is time to start proving that we know how to apply microcement step by step. To do this, we must be clear that the base as such, does not act as a primer or bonding bridge. That is, it is an action that actually performs the consolidator or seal but, depending on the support, could include this first step of primer or mesh with the application of a consolidant or an epoxy resin as a vapour barrier (seal) next to the fibre mesh on the finished microcement.
Tip: use our fibreglass mesh, as it contains highly efficient alkaline protection, ideal for use on walls and floors, not forgetting other special surfaces such as benches, furniture, ceilings, etc.
Tomás Amat, architect, creative and managing dir
Step 3: Apply microcement ready to use
Immediately after preparing the support, this must be regularized with microcement BASE, which will also provide resistance to the system.
Access the Cementec product catalogue and choose the microcement that best suits your surface or taste, because we have a wide array of colours which covers from conventional greyish to the purest cement style, or from a textured range to another vintage or water resistant.
Once selected the finished microcement, you have to apply two layers of microcement FINO (three layers in the case of vintage and metallics), spreading the material with a flexible metallic trowel and respecting the necessary drying and sanding time in each case.
Do you want to know how to apply ready-to-use Cementec microcement on plasterboard quickly and easily? Consult our previous article in which we tell you in detail.
Tomás Amat, architect, creative and managing director of Cementec
Step 4: Protect with a sealer layer
Is this last step really necessary? More than that. If we want to have a resistant surface to hits, foot wear and, make it even waterproof in case that it is going to suffer water or other liquids spillages, you have to apply 2 layers of our Top Coating Finish Forte Plus with a lacquered look and available in three different tones: matt, satin and gloss.
And, that’s all folks! What do you think? We conclude this short tutorial on how to apply microcement step by step talking about on how to lay microcement depending on the type of surface what we are facing.
Microcement Applications depending on the type of surface
And now the dilemma arises for those who want to follow the procedure correctly. In other words, how should Cementec ready-to-use microcement be applied depending on the type of surface?
In order to resolve these doubts, we recommend following each and every one of the specifications or characteristics that we are going to offer below. But not before and if this were not enough, watch this video in which one of our colleagues from the Cementec technical team, Paula, shows through a real and visual practical example, how to apply Standard microcement.
What is easy?
Select the microcement kit you need depending on the surface to be covered. You can also consult the specifications to be followed in each one of them and a complete step-by-step in this other post.
Tomás Amat, architect, creative and manager of Cementec
How to apply microcement on tiles
We must take into account some specific points to get satisfactory results when applying microcement on tiles. Follow each and every one of the steps, without leaving out any of them.
- Check any type of imperfection, protrusion, breakage or looseness of tiles. If so, be sure to replace them and fill in any gaps with a fast-setting type of mortar.
- Fill the joints if they are very small, with microcement FINO and let it dry for 24 hours. Subsequently, sand the material with a sandpaper with a 40 grit.
- Prepare and apply the epoxy primer, spread it with a roller, along with the fiberglass mesh, and let it dry again for 24 hours.
- Start applying the first layer of microcement BASE. Spread it out with a metal trowel, let it dry for 4-6 hours, sand mechanically with a sandpaper with a 40 grit and now apply a second layer of microcement BASE but with the chosen pigment. Same process, 24 hours of drying and subsequent sanding with 40 grit.
- It is time to apply the finish layer of microcement. Same steps done for microcement BASE can be followed, however, the sanding must be made with a sandpaper with an 80 grit on the first layer, and 180 grit on the second.
- Use the Top Coating to finish the process. Apply a first coat and let dry for 8 hours. Finish with a second layer of Top Coating. These layers do not require sanding.
If it is still not clear to you, don’t hesitate to visit the specific blog post we dedicate to it. Find out how to apply microcement on tiles here.
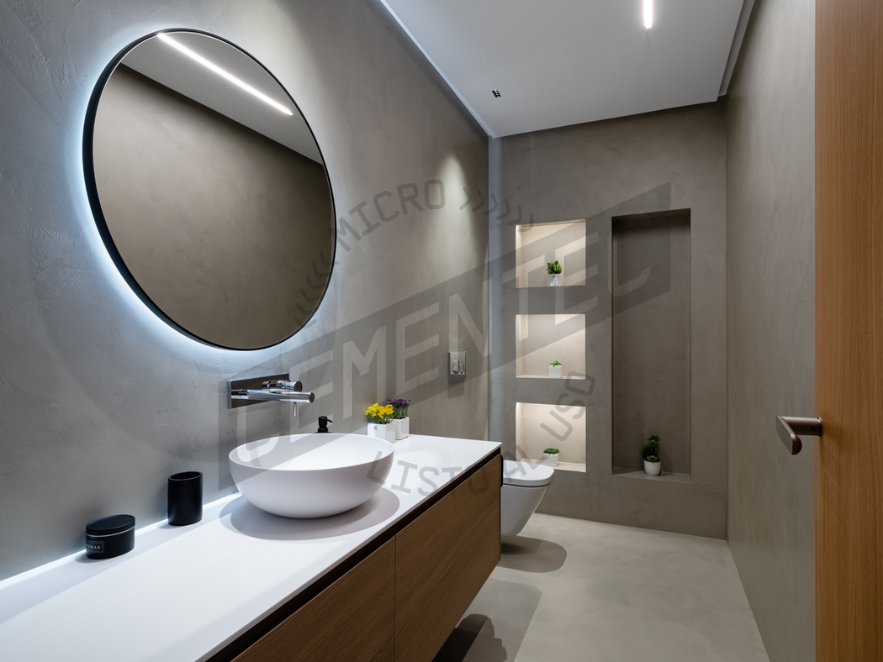
How to apply microcement on walls
The use of microcement on walls or how to apply microcement on this type of surface has spread in recent times due to its industrial appearance, its rapid installation, its great adherence and its high resistance to cracks.
Same steps must be followed as for tiles support, but without filling joints (as it is evident) and taking into account a series of aspects depending on the support.
- If we face plasterboard or plaster walls, we do not think it is necessary to apply two layers of microcement BASE, and at the same time, we recommend, in this case, that the adhesion promoter be without mineral fillers.
- However, if the walls are made based on mortars (cement or sand), we must apply two layers of microcement BASE on them.
Nevertheless, do not hesitate to consult more information related to the application of microcement on walls here.
How to apply microcement on floors
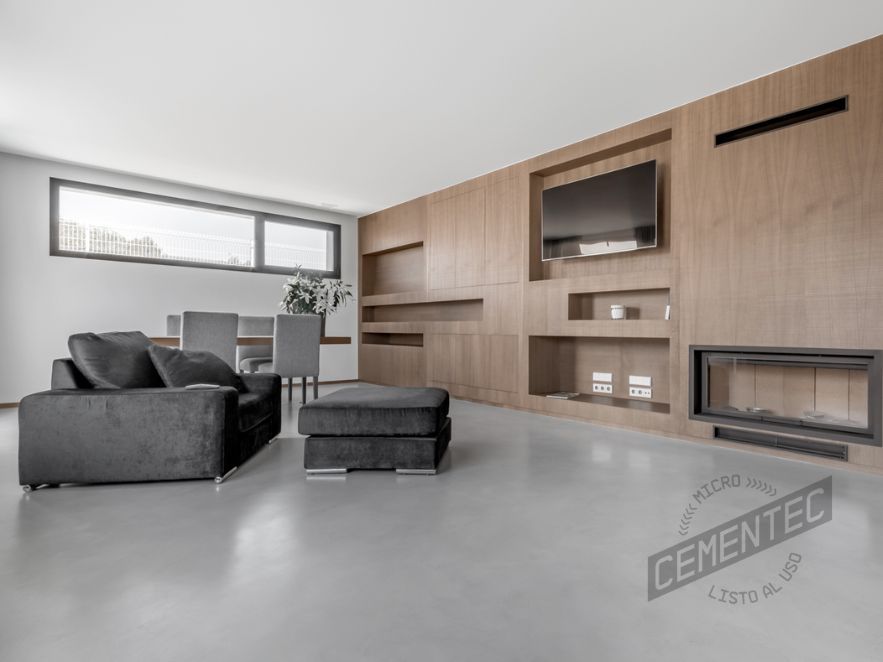
Microcement floors may be the most common or the most you have heard about. The application of microcement on the floor will provide you with a long-lasting decorative solution, offering you a great level of customization and resistance.
The procedure will be the same as previously described, always using a Cementec ready-to-use microcement. More information about microcement in floors here.
What is needed to apply microcement?
Therefore, to apply Cementec microcement, the following is required:
- A clean, dry surface, free of imperfections.
- Adequate preparation of the base must be carried out, applying a bonding bridge or primer on surfaces such as plaster, wood, concrete or mortar, which ensures correct adherence of the microcement.
- Protect the work area before applying microcement.
- Then, successive layers of microcement are applied, starting with a base coat and finishing with a sealing coat to ensure durability and resistance.
Where can microcement not be applied?
Finally, ready-to-use microcement should not be applied on surfaces exposed to extreme humidity or standing water, such as swimming pools or fountains, as these conditions can compromise its durability. It is also not suitable for floors made of wood, plastics or metallic materials (such as iron or aluminium) due to their low adhesion, which affects the stability of the coating. Furthermore, it is not recommended for floors with active cracks or unevenness, as this can cause visible cracks and deformations in the microcement layer.
Did you find this article interesting? Are you ready to start renovating or reforming your home? Share your opinions about how to put microcement in 4 easy steps on our social networks and follow us!